
Tackling a DIY bathroom faucet installation can save you time and money—and, with the right tools and steps, it’s entirely doable for most homeowners. Whether you’re replacing an old fixture or upgrading to a sleek new model, this guide will walk you through every stage of the process safely and efficiently.
Tools and Materials You’ll Need
Before you begin, gather everything in one place:
- New faucet and mounting hardware
- Basin wrench (for tight nuts under the sink)
- Adjustable wrench and/or pliers
- Plumber’s putty or silicone caulk
- Thread-sealing tape (Teflon tape)
- Bucket and towels (to catch water)
- Cleaning supplies (rags, sponge)
- Flashlight or headlamp (optional but helpful)
Most modern faucets—including Vasca Design bathroom faucets—come with clear instructions and all necessary mounting parts. Double-check that you have hot and cold supply lines compatible with your new valve connections.
1. Turn Off Water and Prepare the Area
- Shut off the water supply under the sink by turning the angle stops clockwise until they’re fully closed.
- Open the faucet to relieve any pressure and drain remaining water.
- Place a bucket beneath the P-trap and supply lines, and lay down towels to soak up drips.
Clearing out under-sink storage will give you room to work and prevent moving items around mid-job.
2. Remove the Old Faucet
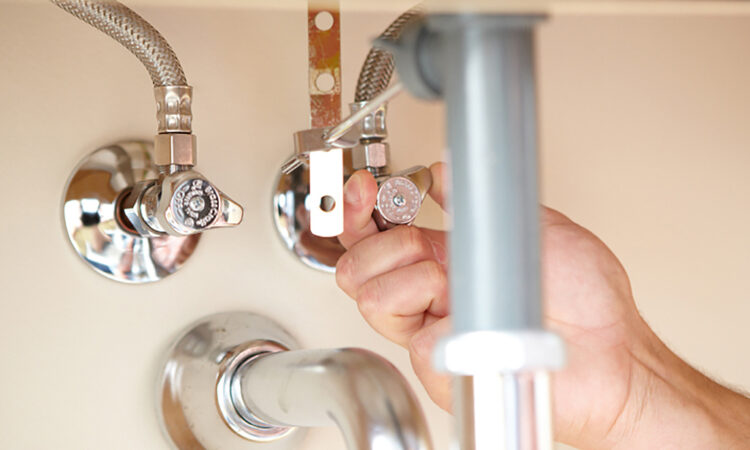
- Disconnect water lines: Using your wrench, loosen the nuts on both hot and cold supply lines, then pull the lines free.
- Remove mounting nuts: Use the basin wrench to reach up behind the sink and loosen the nuts that hold the faucet in place. There are typically two or three nuts depending on the style.
- Lift the faucet out: Once freed, wiggle the old faucet up and out from the sink deck. Clean the area well—removing old putty or caulk—so the new faucet sits on a flat, debris-free surface.
3. Prepare and Mount the New Faucet
- Apply plumber’s putty or a bead of silicone around the base of the new faucet (according to the manufacturer’s recommendation).
- Position the faucet through the sink holes—ensuring hot and cold sides are aligned correctly.
- Secure from below: Hand-tighten the mounting nuts first, then snug them further with the basin wrench. Be careful not to overtighten, which can crack porcelain sinks or deform metal.
Some faucets include a deck plate to cover extra holes; slide it into place before tightening.
4. Connect the Water Supply Lines
- Wrap threads on the faucet’s outlet pipes with Teflon tape (two or three turns).
- Attach the supply lines: Screw the hot and cold lines onto their respective inlets. Hand-tighten, then add a quarter-turn with pliers—again, avoid overtightening.
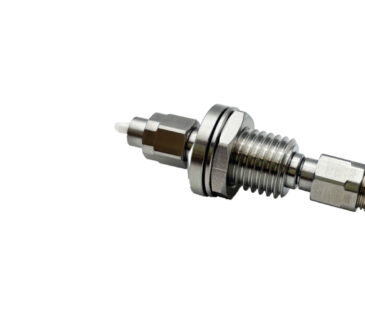
- Check for adapters: If your new faucet connections don’t match existing supply valves, use brass or stainless-steel adapters to bridge the difference.
5. Test for Leaks and Finalize Installation
- Turn the angle stops back on by rotating them counterclockwise.
- Slowly open the faucet and let both hot and cold water run for a minute, watching under the sink for drips.
- Tighten any leaking connections gently until leaks stop.
Once satisfied, wipe away any excess sealant around the base and clean the sink deck.
Conclusion
Installing a bathroom faucet without a plumber is entirely manageable with the right preparation and tools. By following these steps—turning off the water, removing the old fixture, sealing and mounting the new faucet, and carefully reconnecting supply lines—you’ll have a professionally functioning faucet in no time. Enjoy your refreshed bathroom and the satisfaction of a successful DIY!
Sources

